


Whipping Up Pad Thai (and More) in the Wilderness
Dehydrating tasty food at home is easier than you think.

THIS ARTICLE IS ADAPTED FROM THE JUNE 22, 2024, EDITION OF GASTRO OBSCURA’S FAVORITE THINGS NEWSLETTER. YOU CAN SIGN UP HERE.
On a recent backpacking trip, three damp days of nearly non-stop rain in the Hoh Rainforest of Washington’s Olympic Peninsula, I watched as my fellow hikers peeled off their wet outer layers and fired up their pocket stoves. They flipped through pre-packaged dehydrated meals and passed them around like trading cards, with decadent options ranging from chicken Alfredo to dark chocolate cheesecake.
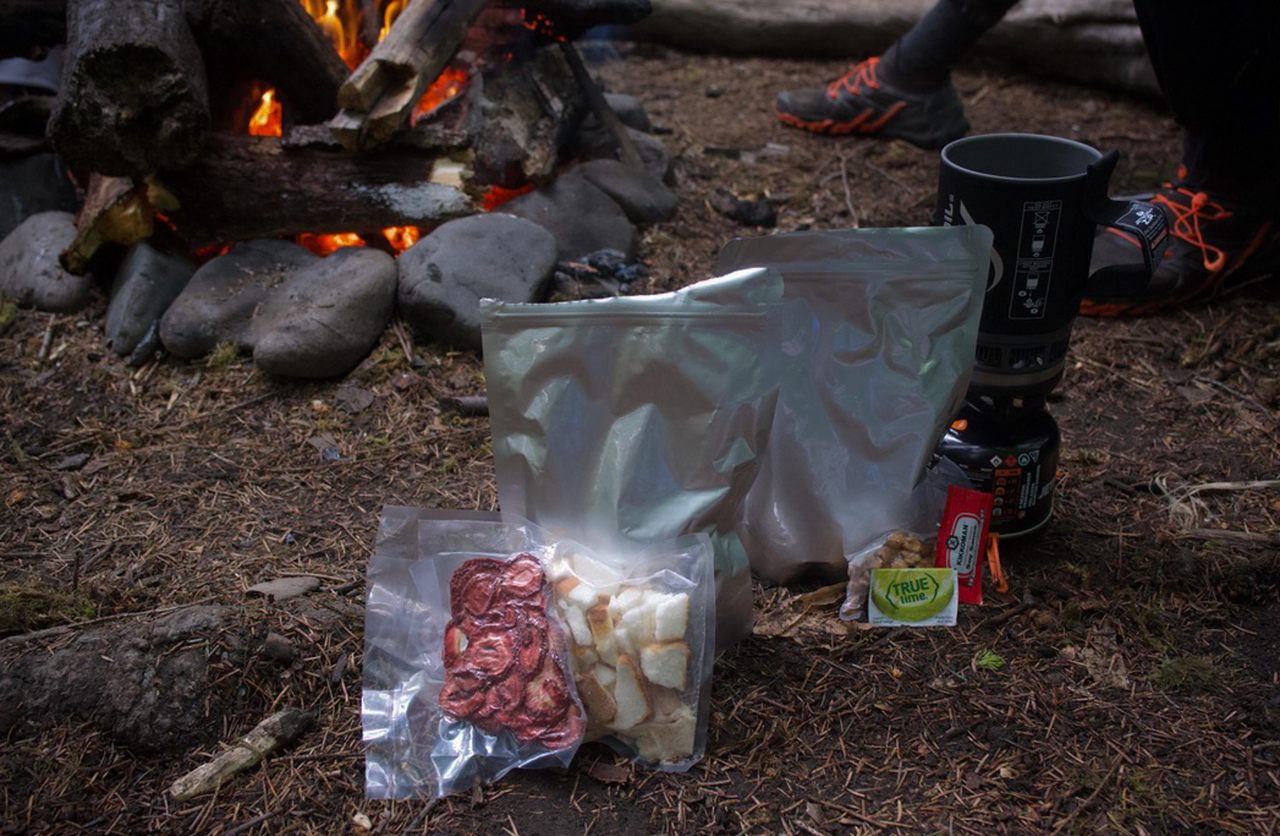
I had taken a slightly riskier route, by dehydrating my own backcountry meals. Packed in mylar bags, my menu featured turkey tacos, pad Thai with tofu, and strawberry angel-food cake. In a modern world of freeze-dried and dehydrated meals for all palates that can be easily purchased, I wondered if my home-cooked meals could match up—or at least fill me up—in the backcountry.
A Bite of History
For backpackers, the goal is to keep our bags as light as possible. This means packing foods with low weights and high calorie counts. Often, the best way to accomplish this is through dehydration.
Drying food for travel was a practice long before modern day backpackers had a hankering for couscous and beef stroganoff in the backcountry. Members of the Mongol Empire relied on dried meats and milk curd for travel, while the ancient Egyptians ate dried fish and dates. In the Middle Ages, European monks created “still houses” for drying, which often used heat from fire, while Peruvians freeze-dried potatoes in a process known as chuño. A French inventor would create the first food-dehydrating machine in 1795.
The World Wars ramped up American interest in dehydrated foods, allowing soldiers to carry lightweight, shelf-stable meals on long deployments. After World War II, dehydrated foods worked their way into the civilian diet: from instant mashed potatoes to instant coffee.
Taking dehydrated meals from basic to gourmet is a newer notion. Before retailers offered freeze-dried meats and dehydrated larb, outdoor enthusiasts had to make due with bulky and rather unappealing canned goods, heavy MREs, or get creative with their own meals.
Dehydrated Delights
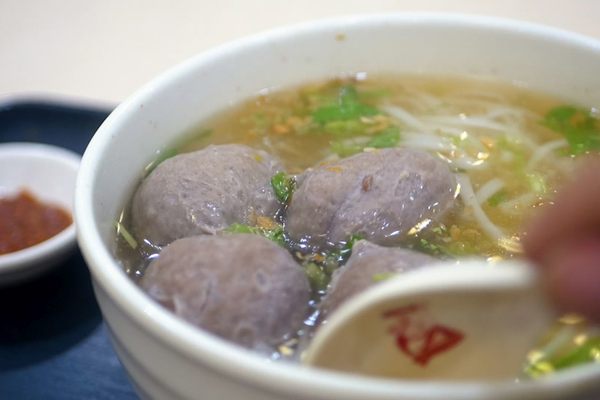
Today, a wide array of colorful packages hang before hikers in the food aisles of outdoor stores. You can find everything from spaghetti and chili to caldo tlalpeño and chicken phở.
While backpacking cuisine has improved in quality and culinary options, not everyone is psyched to pay $10 to $15 for a pre-made meal. Some are weary of the price, while others prefer to make their own meals to avoid allergens or preservatives, or simply are part of the many outdoor enthusiasts interested in self-sufficiency—even if that’s more about dehydrating and packing food from home than foraging or fishing.
While some dedicated food preppers invest in freeze-drying equipment, many still opt for the convenience and accessibility (and cheaper price tag) of dehydrating. Under proper conditions and storage, dehydrated meals can keep you safely fed in the backcountry all summer long.
The Basics
Some people cook and dehydrate each ingredient individually, and then cook them over their camping stoves. But I wanted my own meals to be as simple as possible—just like the commercial meals where all you do is add boiling water to the package and wait. For all my meals, the steps were pretty straightforward.
1. Cook as normal, but using as little cooking oil as possible, as residual fats make food more prone to spoiling.
2. Dehydrate the cooked food in thin sheets in a dehydrator. I borrowed two from neighbors but some libraries also rent them out.
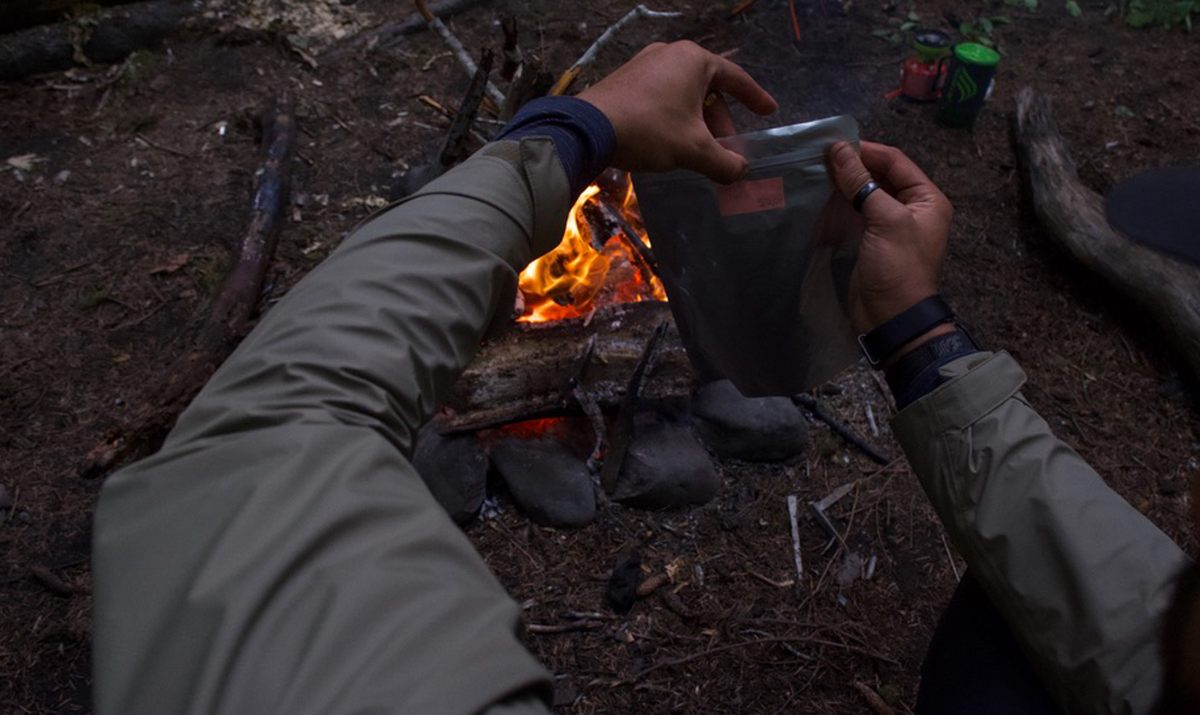
3. Portion out the dried food into high-heat mylar bags, which can be sealed with an iron to lock out air. You can also use a vacuum sealer if you want to bring a pot to cook in or heat-resistant, reusable silicon stasher bags. Write the date on the bag.
4. Regardless of storage vessel, it’s recommended food is kept in the freezer before departing for a trip, though it can be shelf-stable for months depending on how oily it is, how well it was dehydrated, and storage conditions.
5. During your excursion, store bags properly. While sealing bags makes them scent-free to humans, they are still likely detectable by bears’ impressive sense of smell and should go in a bear bin.
6. Be careful to check for signs of rancid food—like humidity in the bag, change in color, and of course, smell upon opening. Foods like eggs, meats, and nuts will spoil easier than others, so be sure to take special care when storing and checking these additions if you’re headed on a long trip.
7. To prepare your food at camp, open the package and remove the oxygen absorber (which should come with mylar bags). Fill the bag with boiling water until the food is just barely covered.
8. Add any extra spices or sauces. Close and wait 20 minutes, stirring at the 10-minute mark. Then open and enjoy!
9. Leave no trace, and store trash properly!
The Menu
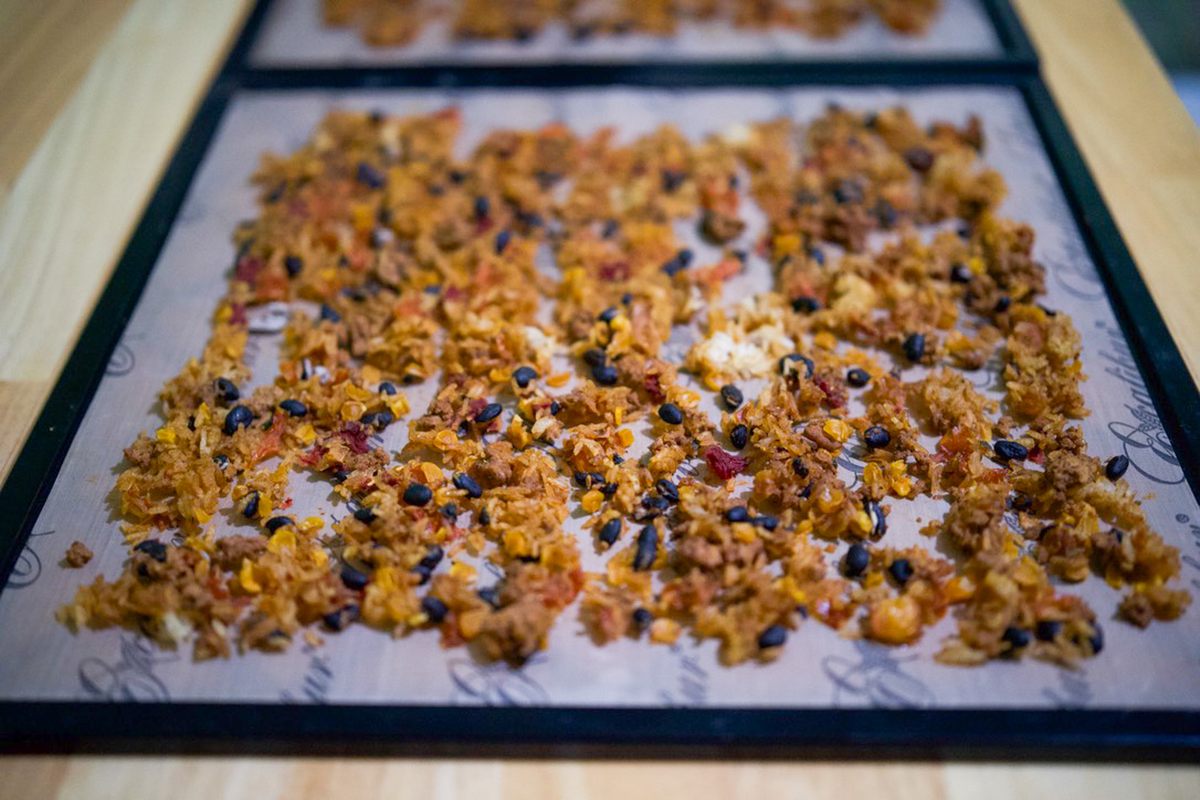
Turkey Tacos
These turkey tacos are full of protein, veggies, and delicious spices. I knew they’d go great with food staples I always carry backpacking: tortillas and hard cheddar. I also chose turkey because it is easier to dry and store long term, versus fattier meats like beef that can go rancid quickly without perfect care and storage.
I just cooked a big pot of the meal, stirred in cooked rice, and dried it all together for 12 to 14 hours at 160 degrees Fahrenheit until it was crispy and hard. The key is to cut all the veggie and meat chunks to about the same, small size. The beans did dry faster than the peppers, but it all rehydrated just fine.
Rehydrating does remove some of the flavor, spice, and saltiness of meals, so I like to add a little extra spice to the powdery final product, along with a pack of dehydrated lime powder before sealing the bags closed. Finally, I packed it up with some spare takeout hot sauce packets to add in while cooking on the trail, along with a small bag of cheddar cheese.
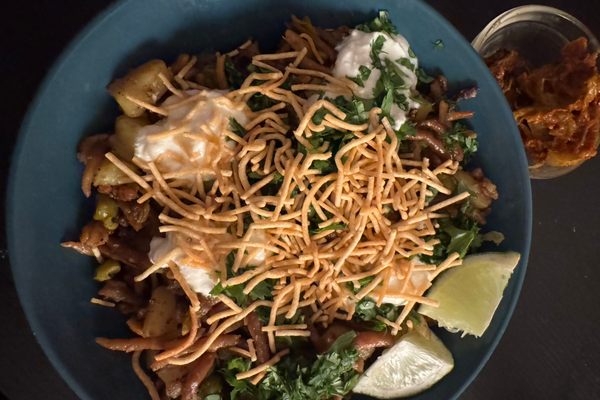
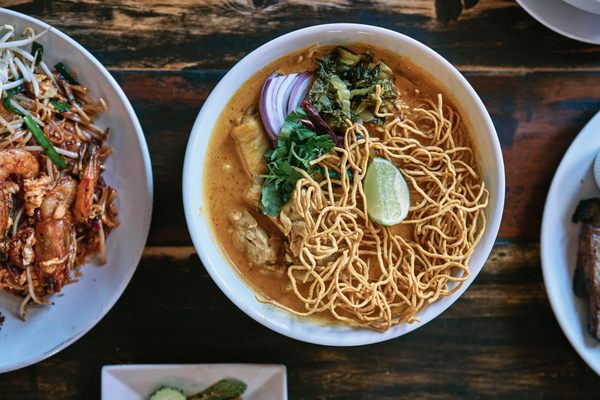
Pad Thai
One of the most beloved pre-packaged backpacking meals is pad Thai, so I thought I’d see if I could make my own version.
I opted to use tofu as my protein, which doesn’t go bad as easily as fatty meats. Before cooking, freeze extra firm tofu overnight and then allow it to thaw completely in the fridge. This step allows the air bubbles in the tofu to expand, making it dehydrate and rehydrate better. Skipping this step leads to very chewy tofu.
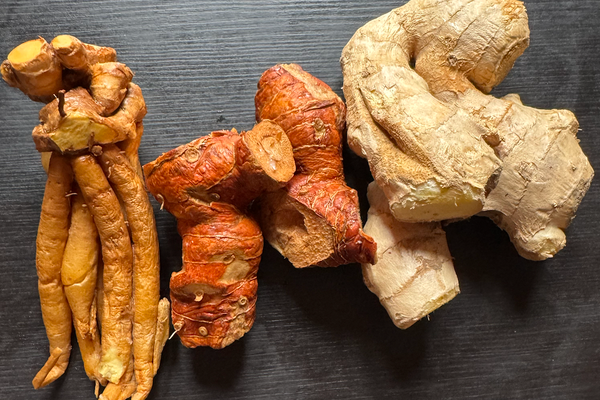
For the pad Thai, I made it just like I would at home, except without any of the oils, vinegars, or sauces I’d normally add. (Here’s a good recipe to use as a base.) I chopped and cooked onion, mushrooms, broccoli, carrot, garlic, and fresh ginger, added both powdered ginger and garlic powder, then mixed it with cooked rice noodles.
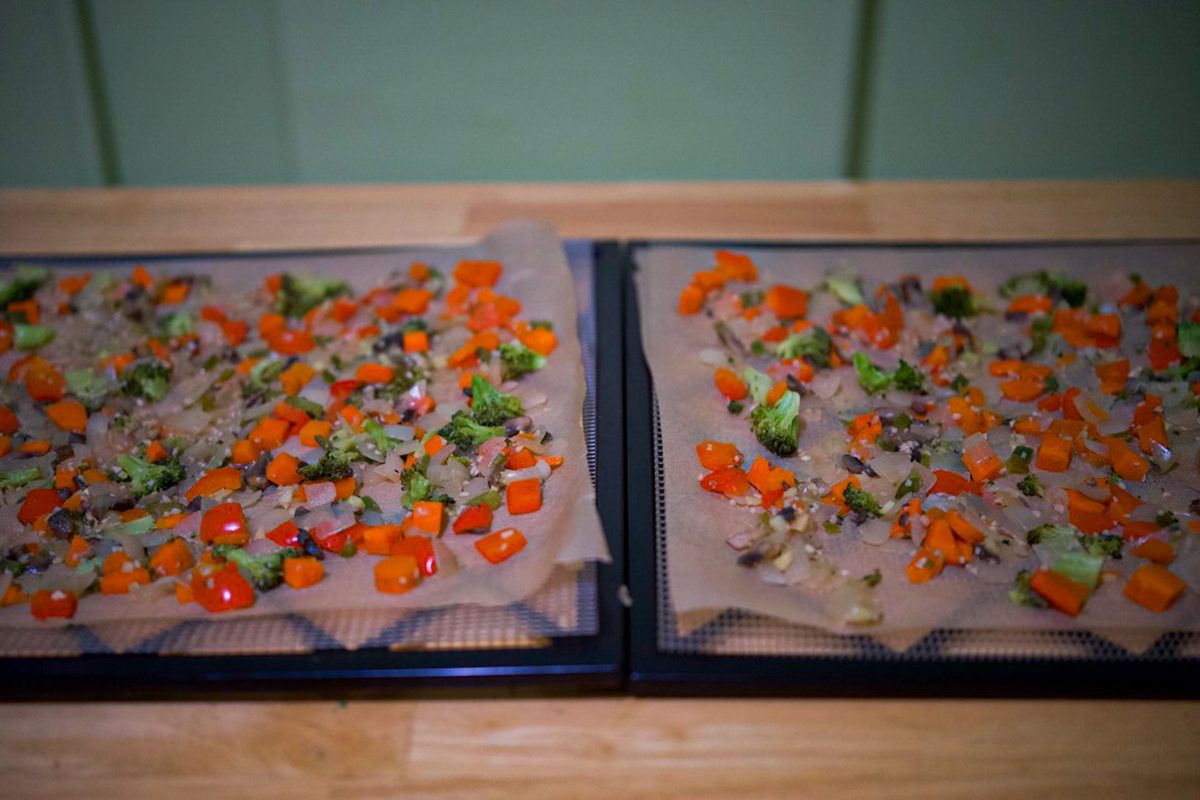
I dried the mixture in thin sheets for 8 hours at 140 degrees Fahrenheit until it was crispy and hard. I took special care to break the noodles into small pieces before adding it to the bags to help with even rehydration.
To get a bit of the saucy and spicy taste back when rehydrating at camp, I packed a travel-sized peanut butter (you can get it in squeeze tubes or pre-portioned travel packs), chopped peanuts, to-go soy sauce packets, and a dehydrated lime pack.
My project was a success, and I enjoyed my steaming-hot pad Thai after a day of damp hiking. I ended up borrowing a bit of Thai chili sauce from another camper, but the result was tasty enough that I would definitely pack it again.
For protein, you can opt to add purchased freeze-dried eggs or dehydrate your own!
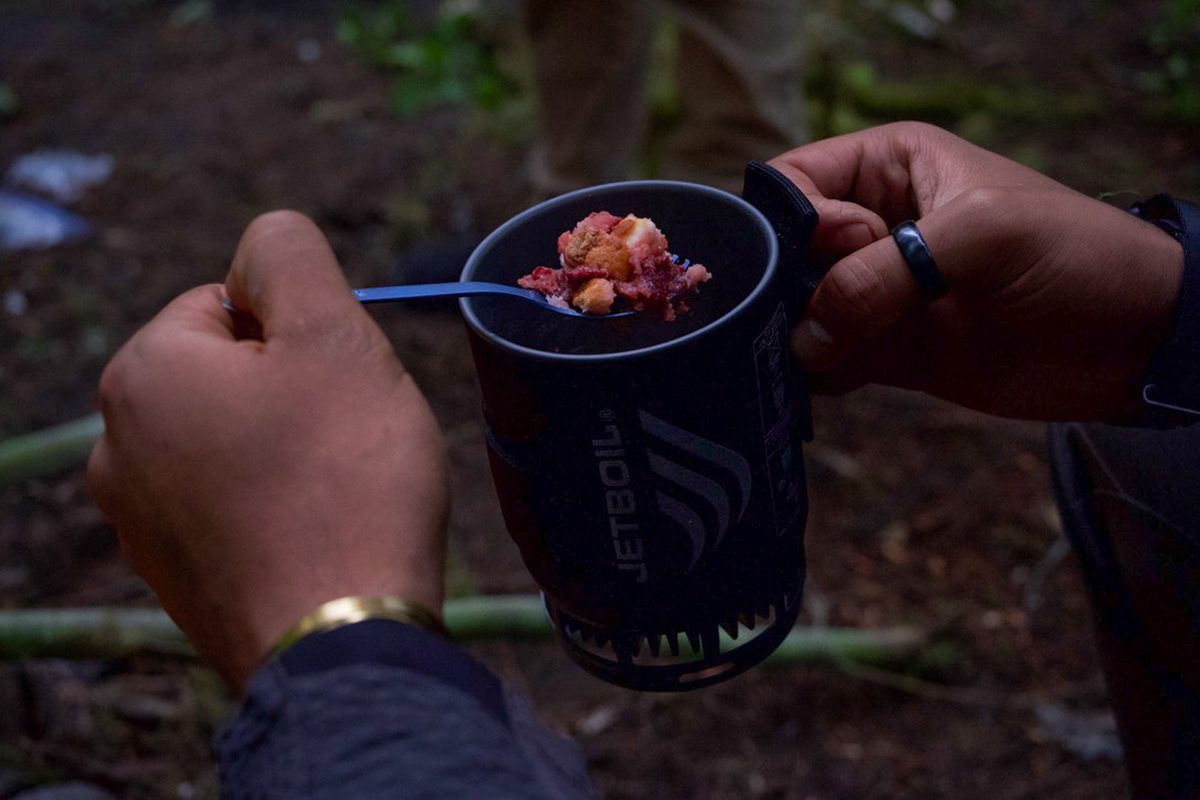
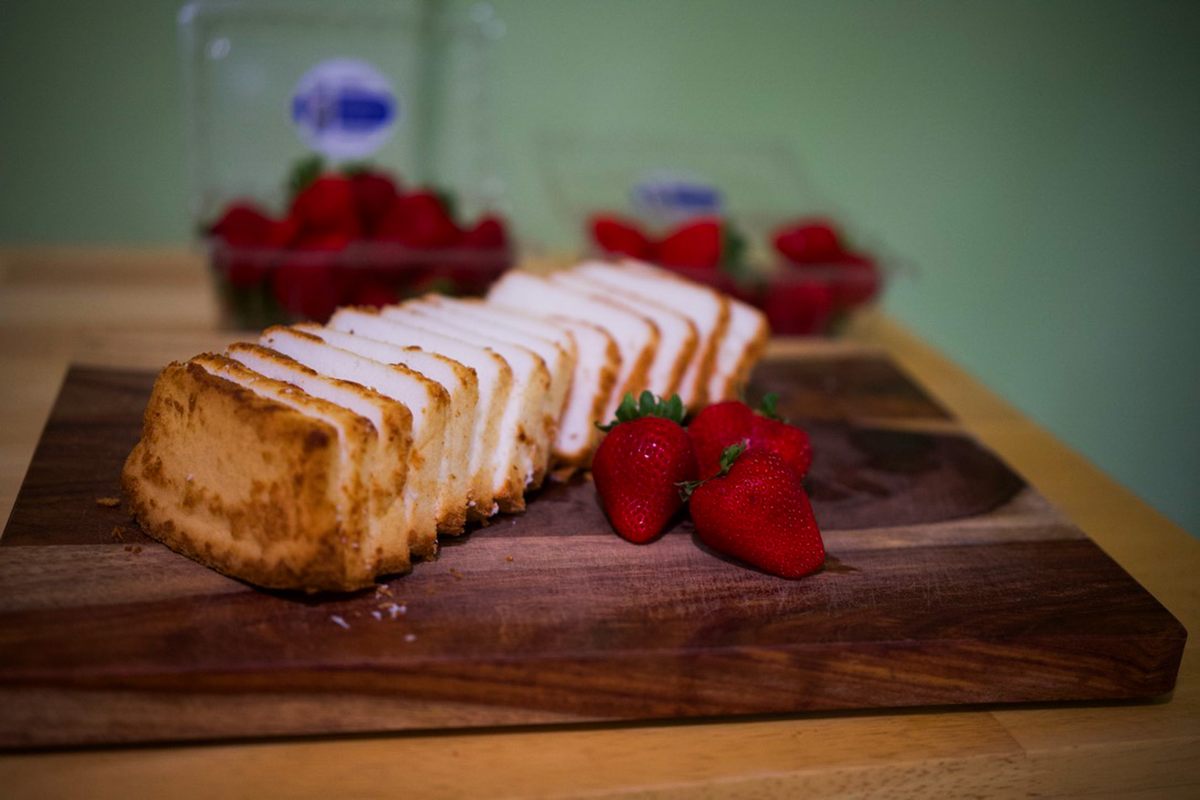
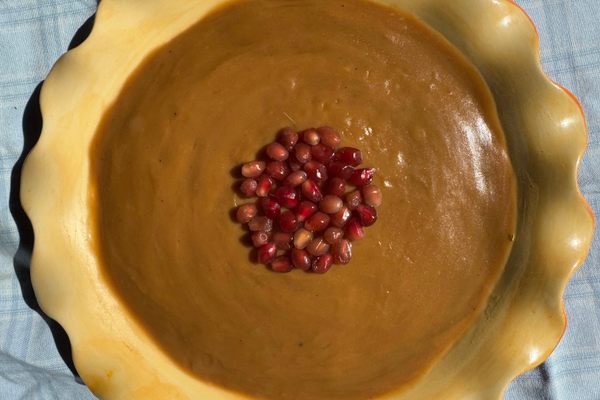
Strawberry Angel-Food Cake
The best part of this dessert is that it’s delicious either out of the bag or rehydrated!
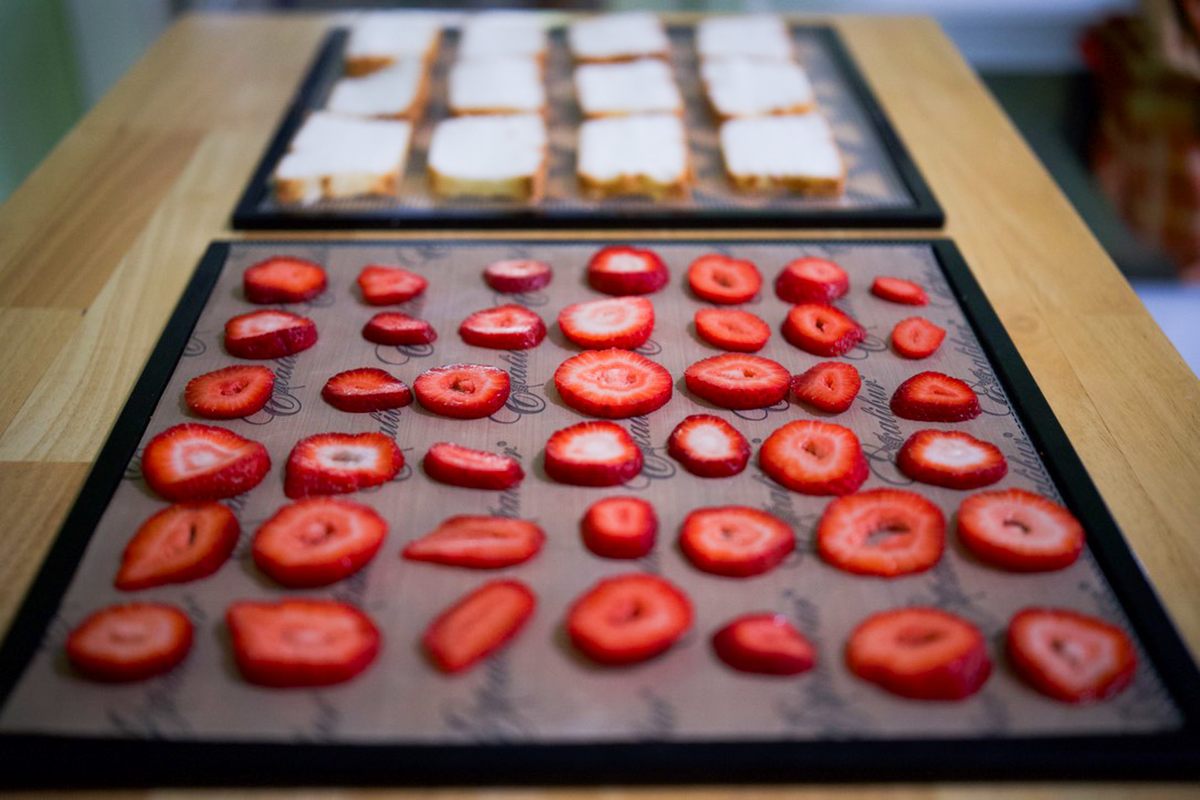
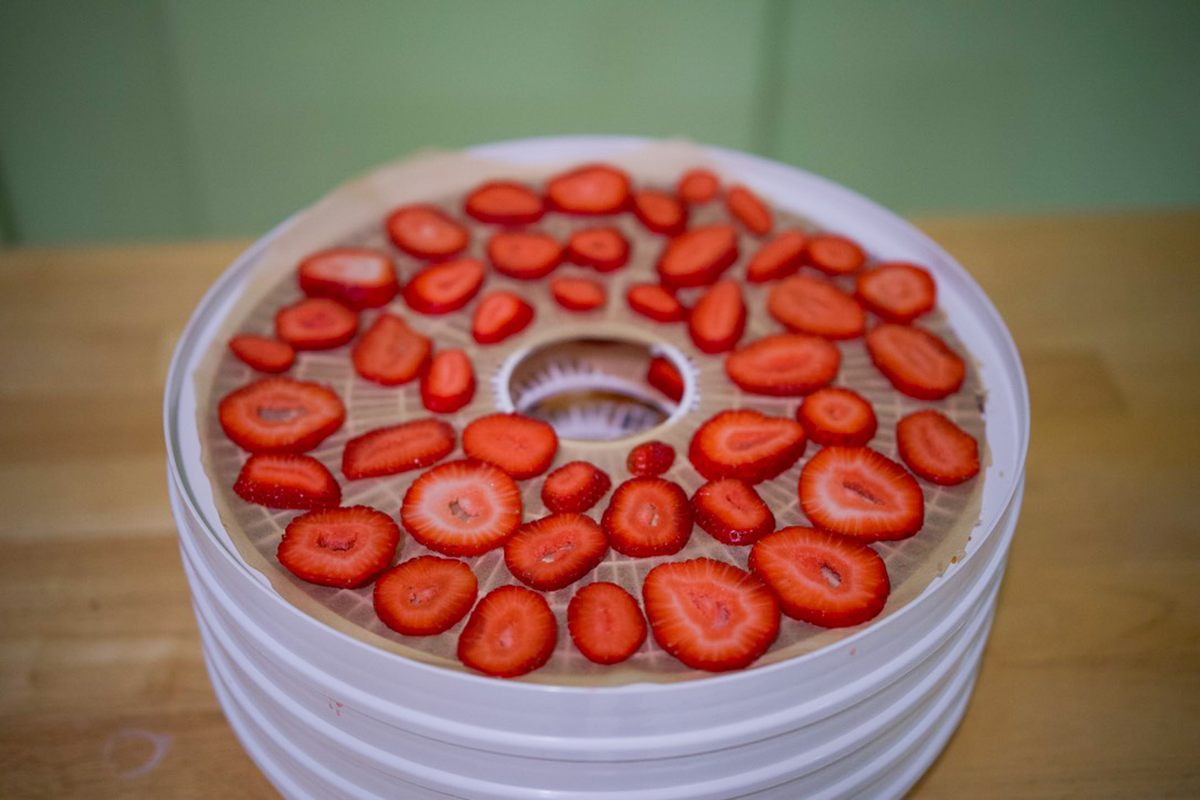
I simply sliced up and dehydrated strawberries for approximately six to eight hours at 135 degrees Fahrenheit. Then, I cut an angel food cake into half inch-thick slices and dried them for four hours at 125 degrees Fahrenheit.
Both the strawberries and the cake should feel hard and completely dry before packing them for camping. A trick for making sure your fruit is dry enough is to put some in a plastic bag overnight. If there’s condensation on the bag in the morning, you know it needs more time.
On the last night of camping, I covered the strawberries with water in my cooking pot and cooked them on a camp stove for about three minutes. I turned off the flame, and stuck the angel food cake cubes on top to soak up some of the sweet, sticky juice.
Gastro Obscura covers the world’s most wondrous food and drink.
Sign up for our regular newsletter.


Follow us on Twitter to get the latest on the world's hidden wonders.
Like us on Facebook to get the latest on the world's hidden wonders.
Follow us on Twitter Like us on Facebook