How to Dye Naturally With Onion Skins
Here’s a new take on a summer camp arts and crafts classic: an onion peel tie-dye t-shirt.

Tie-dyeing, one of the quintessential summer camp arts and crafts activities, leaves the camper with a souvenir t-shirt or bandana that’s both unique to them and a wearable memory. We asked Atlas Obscura Course Instructor Aaron Sanders Head, a textiles artist who focuses on natural dyes, to share an easy guide to creating your own version of this summer camp tradition.
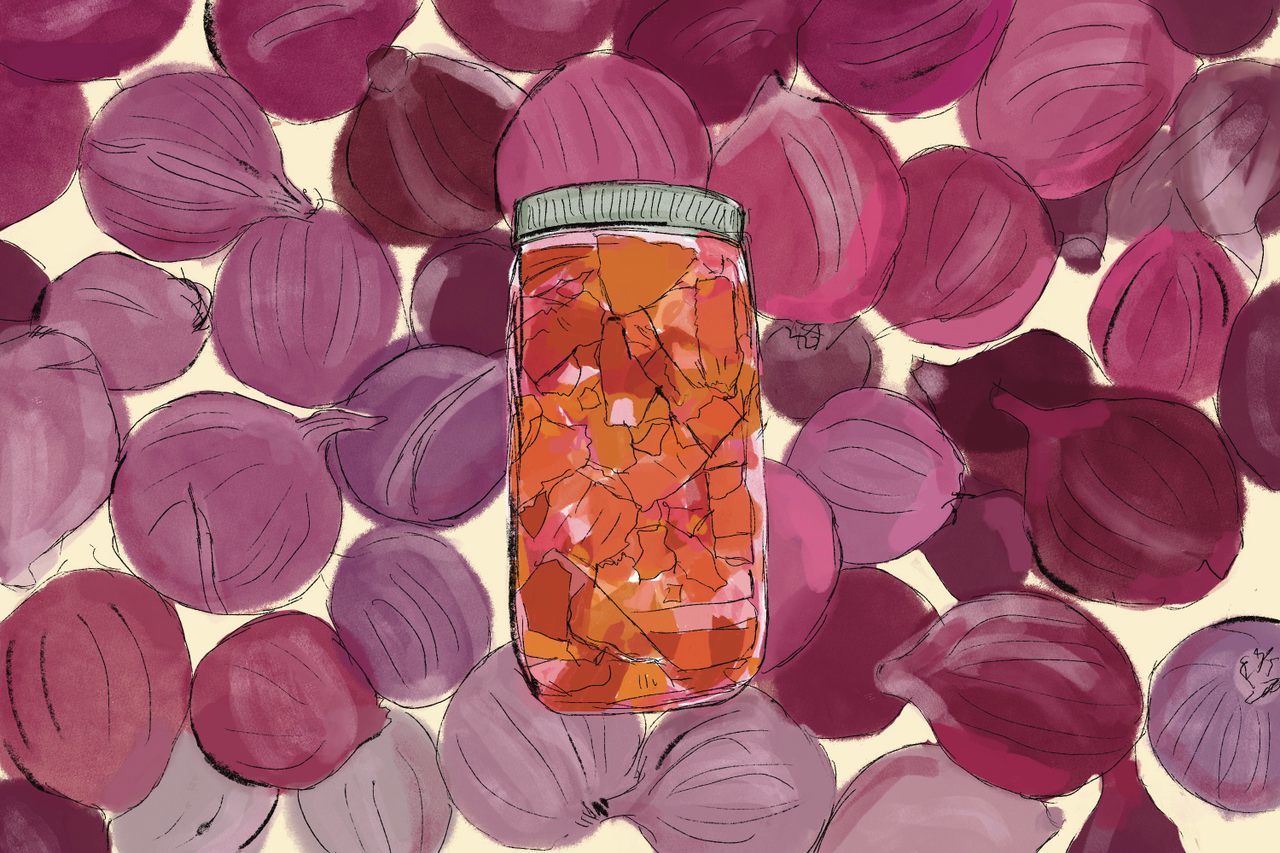
One of the most vibrant sources for dyeing fabric is probably right on your kitchen counter: onion skins. Many food waste items generated while cooking dinner can be used for dyeing—avocado pits, avocado skins, rhubarb, and more—but onion skins reign supreme with the impressive amount of dye packed into them. With just a few steps, you can be cooking up colors all summer long.
Onion skins can give you a wide palette of color, but generally yellow onions tend to give more yellow tones, and red onions tend to give more russet hues. You can separate your skins by color and note the differences you get, or you can keep them mixed for more variety. You might try starting a dye journal, where you can keep track of the specifics of each dye experiment and recreate later if desired.
Onion skins are simple to source and store–simply peel off the papery exterior skins and shove them into a large jar on your counter. Make sure you only add the very dry skins to your jar, as any moisture or onion flesh still attached can lead to mold in your onion skin stash. These dried onion skins can be saved indefinitely until you are ready to dye, as long as they are kept in a dry place. You’re probably wondering, how many onion skins? Truthfully, I don’t usually measure them, and simply fill my pot with several generous handfuls. If you want to measure, a good place to start is 30 grams of onion skins (about an ounce) for every 100 grams of fiber, or fabric. The skins of eight medium-size onions weigh about 30 grams. The more onion skins, the deeper your color will be, so feel free to really pack them in if you want a deep, rich tone.

Gather your materials
- stainless steel pot
- natural fiber fabric, such as a cotton t-shirt or bandana, or a linen tablecloth, washed in hot water before dyeing
- onion skins
- heat source
- rubber bands if making resist patterns (more on that in a bit)
Let’s get to dyeing!
- Add your onion skins to the dye pot and cover them with water. Make sure you’ve added enough water so that whatever you are dyeing can move freely.
- Slowly heat the dye bath to a simmer, being careful not to boil. Stir the skins frequently, and you’ll see the color begin to emerge quickly. After about 45 minutes, the liquid should have a nice, deep tone. If you would like it to be darker, just let the liquid heat for longer, or sit overnight.
- Once the liquid is your desired color, you are now ready to dye. You can choose either to strain and remove your onion skins or to leave them in. Straining leads to the clearest shade on your fabric, while leaving them in can cause patches. I like the mottled effect, so I typically leave mine in.
- Add your fabric to the dye bath, smoothing out any bubbles and ensuring that it’s evenly submerged. Bring the dye bath to a simmer, but not a boil, until your fiber is slightly darker than your desired shade, about half an hour. I like to let my fiber cool in the dye liquid overnight for extra deep shades.
- Remove fabric from the dye bath and allow it to dry out of direct sunlight. Launder with pH neutral soap and hang-dry.

Resist-dyeing techniques
Manual resist techniques create patterns on your fabric by preventing the dye from coloring certain areas. It’s essentially a more elegant form of tie-dye and can be done easily, with things you often have around your house, like rubber bands.
First, lay your undyed fabric out as flat as you can, and press if needed.
Fold your fabric into four equal quarters by first folding your fabric in half one direction, then in half again the other direction. You should be left with a square or rectangle, with two folded edges and two edges that are open.
Starting at one of the corners, roll your fabric into a tube diagonally. Rolling from the center creates an X pattern, while other directions can yield a diamond or lattice pattern–so experiment with the way you roll your fabric.
Once rolled into a tube, bind around that tube with rubber bands. Each band will create a stripe, so if you want more pattern, add more bands, and for a more minimal aesthetic, add fewer.
Once your piece is bound, wet it thoroughly before adding to your dye pot. Massage the bundle in the dye periodically to ensure dye absorption. After that, proceed with the basic dyeing technique described above.


Follow us on Twitter to get the latest on the world's hidden wonders.
Like us on Facebook to get the latest on the world's hidden wonders.
Follow us on Twitter Like us on Facebook