How to Build a Campfire
(Without poisoning yourself or burning down the forest.)
Were you in awe of the summer camp counselor who got a roaring blaze going every night for s’mores and stories with what seemed like zero effort? Surprise: Building a campfire really is easy. We’ve broken it down into four steps—and are sharing some hard lessons others have learned about what not to do.
Step 1: Choose wood wisely
One night, naturalist Roger Hammer, perhaps best known for coaching contestants on the survivalist show “Naked and Afraid,” got a call from a park ranger in Miami. A troop of Cub Scouts had fallen mysteriously ill and been rushed to the hospital. Hammer explored their camp for clues, and eventually found the culprit: a cache of toxic oleander branches they had used to roast marshmallows and hot dogs over their campfire.
“That made their marshmallows and hot dogs even worse for them to eat than they already were!” says Hammer.
Know what you’re planning on burning by first consulting a plant ID app or, better yet, getting specific guidance from a local naturalist, ranger, or other seasoned pro. Never ignite toxic plants such as the aptly named poisonwood (or its relatives sumac and ivy), hemlock, or manchineel. “Even the smoke from these species would be toxic to breathe in, let alone poisoning your food cooked over a campfire,” says Hammer.
Burning plastics is an obvious no-no because they release a whole cloud of nasty chemicals, but some other don’ts may surprise you, including: salty driftwood, which releases carcinogenic dioxins; wood from more than 10 miles away, which can spread invasive species and disease; plywood and furniture; and freshly cut or unseasoned wood, which will smoke like crazy and make everyone cough. And definitely don’t cut branches off of living trees and bushes, which puts the tree at risk of disease (and the branches won’t burn well, either).
Gathering dead wood is usually okay, however. Just make sure nesting birds, bees, and other creatures aren’t using it.

Step 2: Use or build a proper fire ring
There’s a cove in Baja Sur where blue bioluminescent micro-creatures dance on the waves. It’s the perfect spot for a beach campfire, except for one hitch: When the beach rocks get hot they explode. Use them to build a fire ring and they’ll zing bits of fiery shrapnel that really wreck the mood, not to mention the canvas chairs and cocktails.
Avoid using rocks in a fire ring that might have water trapped within them, which expands as it turns to steam. Culprits can include river, sedimentary (layered), and volcanic rocks. If there is an existing fire ring or fire pit, use that (always aim to camp at sites with existing fire rings, so as to leave no trace).
Prior to building a fire, check with the campground host, fire department, or forest service to make sure there isn’t a burn ban or red-flag warning in effect, and keep on Smokey Bear’s good side by not building campfires on windy, dry days.
If dead leaves, pine needles, or dry grasses are encroaching on the ring, clear them away in at least an eight-foot radius so they don’t catch fire from embers. If the vegetation is growing, don’t rip it up—wet it down and keep a close eye on it. Also, don’t build a fire below low-hanging tree branches that could catch sparks.
Step 3: Start a fire using the tipi method
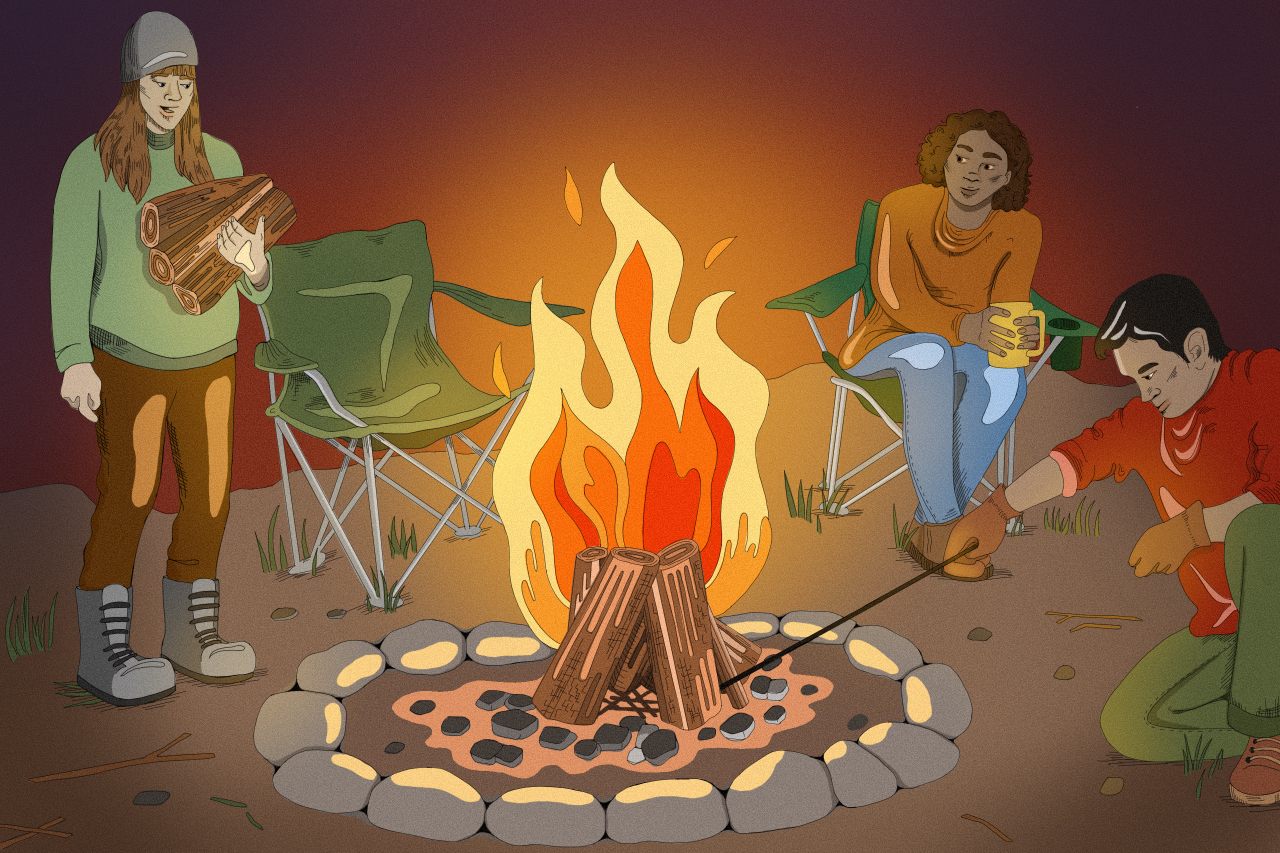
Expertly ignite your campfire using very dry ingredients for every component:
- Place a small pile of dry twigs and dead leaves in the middle of the fire ring. Avoid using paper products, which create large, flying embers. In a pinch, better tinder choices are Doritos or Cheetos. They smell appetizing, so don’t use them in bear country.
- Stand short branches or small slivers of softwood, such as pine or aspen that’s turned gray, on end vertically, leaning against each other in what’s often called the tipi method.
- Using a grill lighter or long-reach matches, light the pile in a couple of places near the bottom.
- Slowly add additional pieces of wood to expand on the tipi concept, each slightly larger than the one before.
- Once you have good coals, start using hardwoods, like oak, cedar, or hickory, which burn longer, cleaner, and hotter. If the fire looks to be struggling, add a piece of softwood here and there to rejuvenate it. Remember, split logs burn much easier than round ones, and the more efficiently the fire is burning, the less smoke you’ll have.
Listen to the fun police. Don’t use accelerants like lighter fluid or gasoline, which create toxic fumes and cause the fire to grow dangerously fast. They’re also a great way to set your clothes on fire. Also avoid lint, which contains microplastics from your clothing.

Step 4: Don’t burn down the woods
When you’re kicked back and enjoying some campfire tales, designate a fire supervisor to keep track of errant sparks and tipsy folks teetering too close to the flames. Keep the flames under control, low enough to prevent catching anything outside of the ring on fire, especially if the wood is popping and cracking a lot or there is a breeze.
To safely enjoy a fire, bring a few tools to your camp, including a pair of fire-resistant or leather gloves, a long-handled poker (or a long, sturdy stick with the bark removed), a large jug of water, and a shovel to help put it out. It’s smart to also wear closed-toe shoes.
When your feet are propped up, warming in front of the fire, periodically check the soles of your shoes to make sure they’re not melting.
Finally, the most important part of the whole process is to put out the fire completely. Don’t just cover it up with dirt. That keeps embers alive, waiting for a stiff wind to scatter them into the forest. Instead, stir a lot of water deep into the ashes. Before leaving your campsite make sure everything is cold to the touch. This is especially vital in dry areas that are prone to forest fires, like much of the American West.


Follow us on Twitter to get the latest on the world's hidden wonders.
Like us on Facebook to get the latest on the world's hidden wonders.
Follow us on Twitter Like us on Facebook